Setup Email on Android Gmail App
Pick up your device and open the Gmail app. It will have an icon like this:
![]()
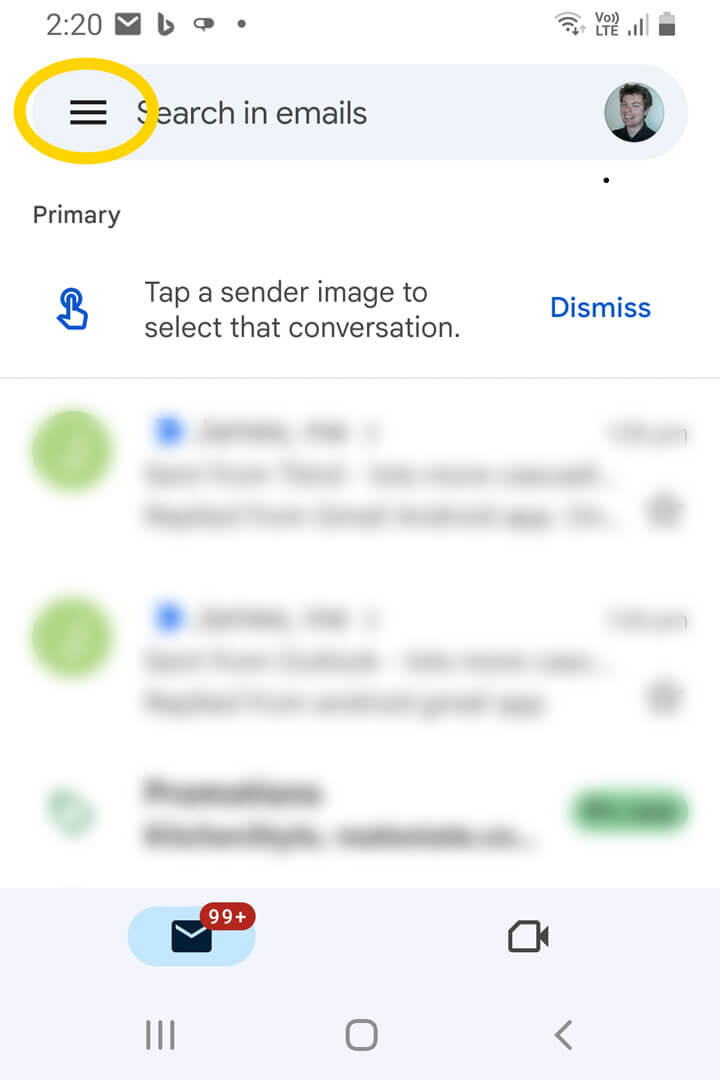
On the top left of the screen press the hamburger menu button.
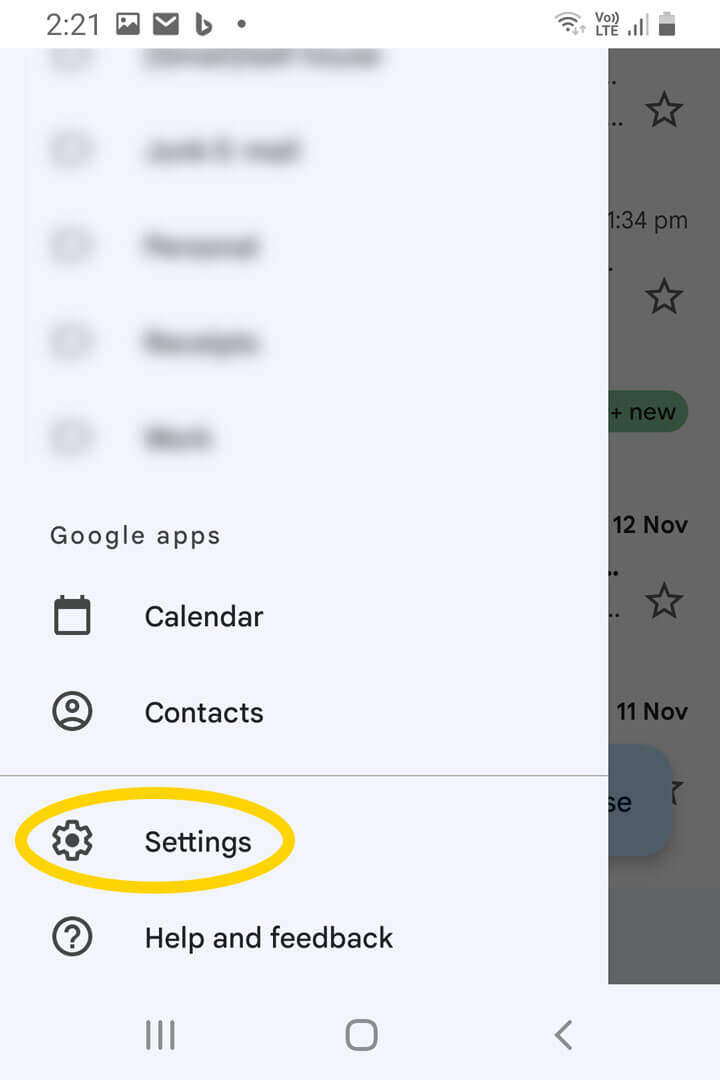
Scroll down and open Settings.
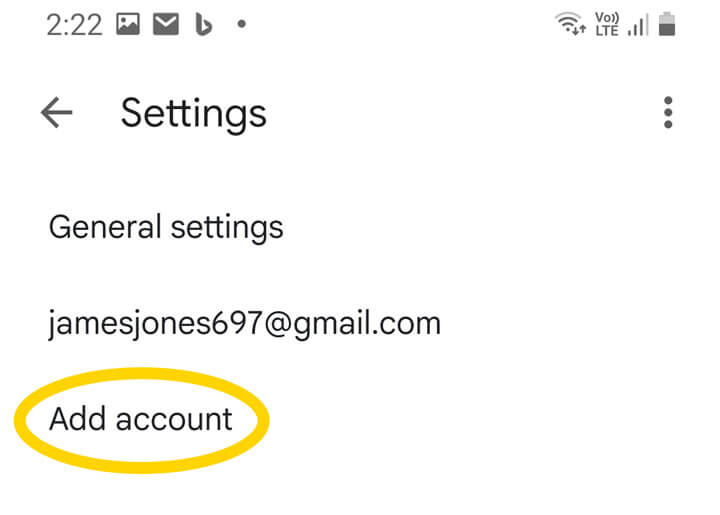
Select Add account.
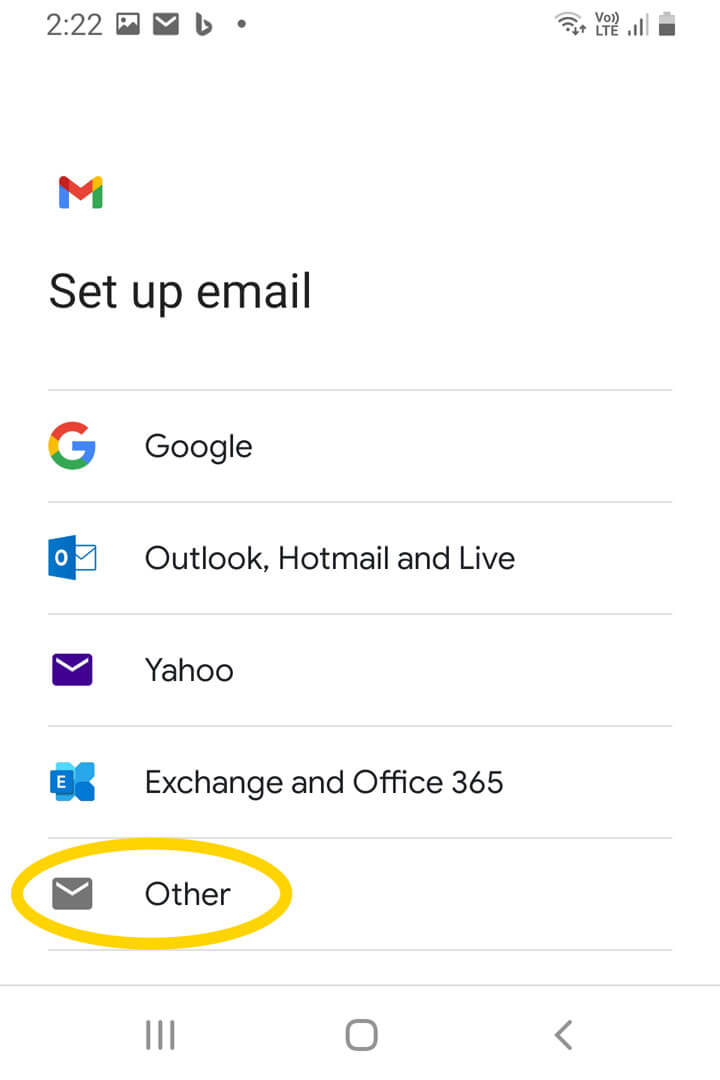
You’ll be prompted to choose an email provider. Select Other.
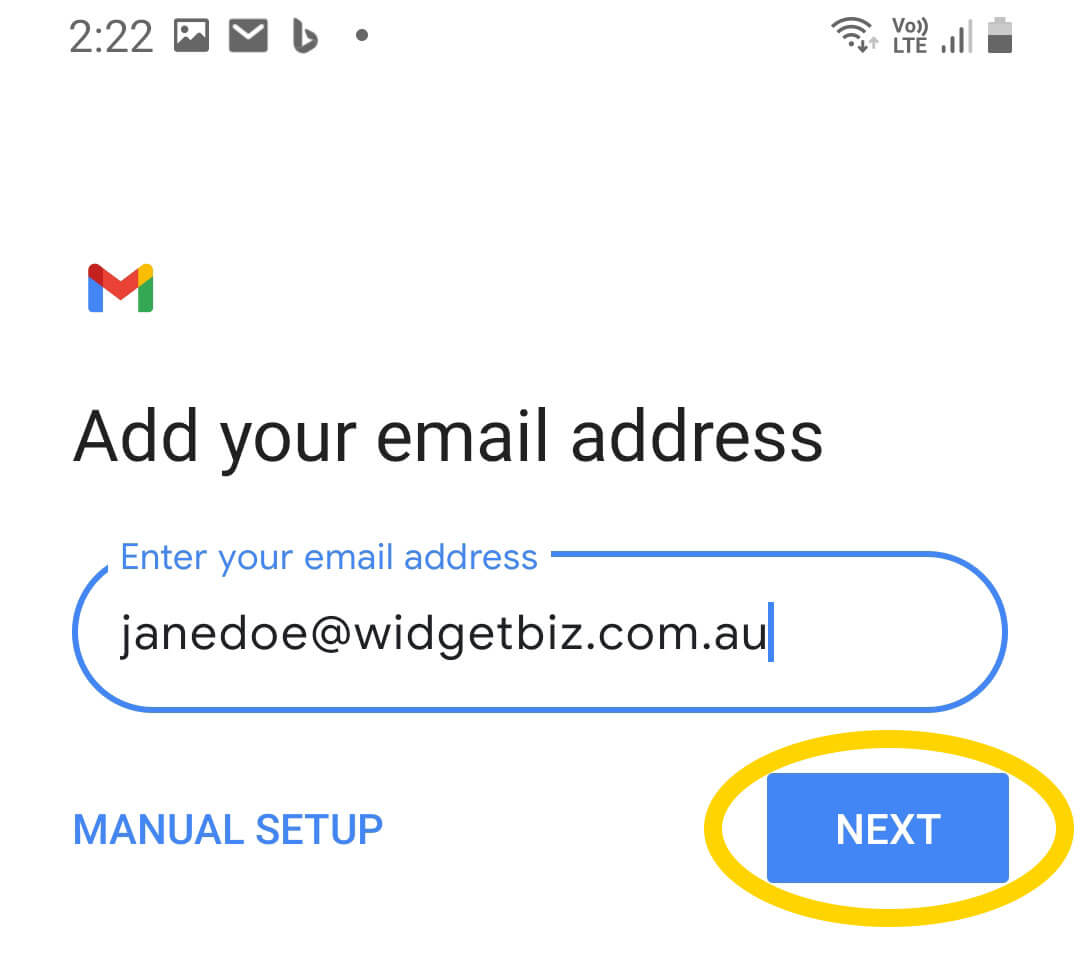
Enter your full email address and press Next.
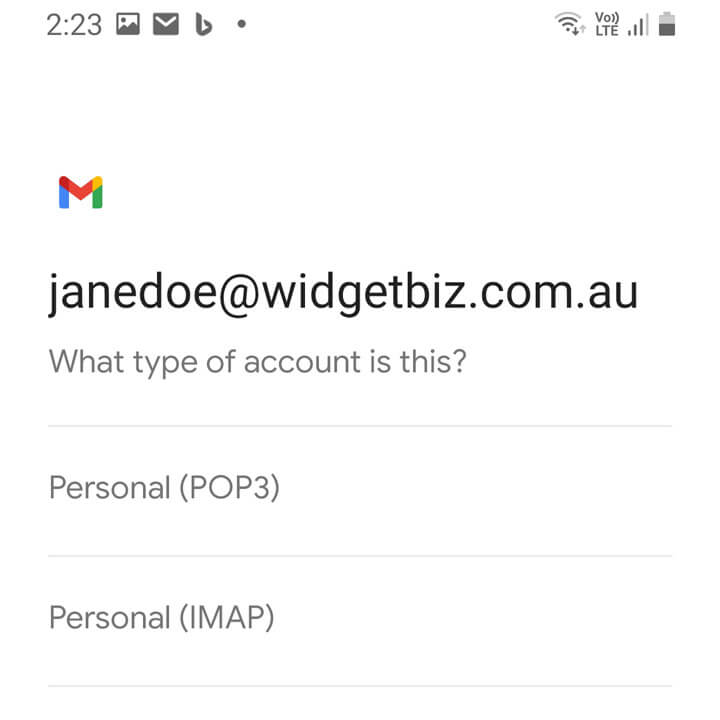
In answer to What type of account is this?, select Personal (IMAP) account and press Next.
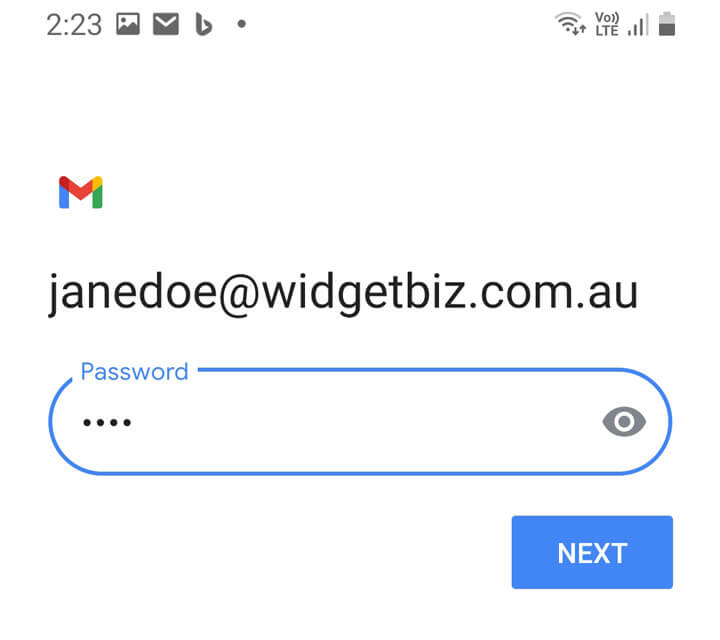
Enter the password to your email address and press Next.
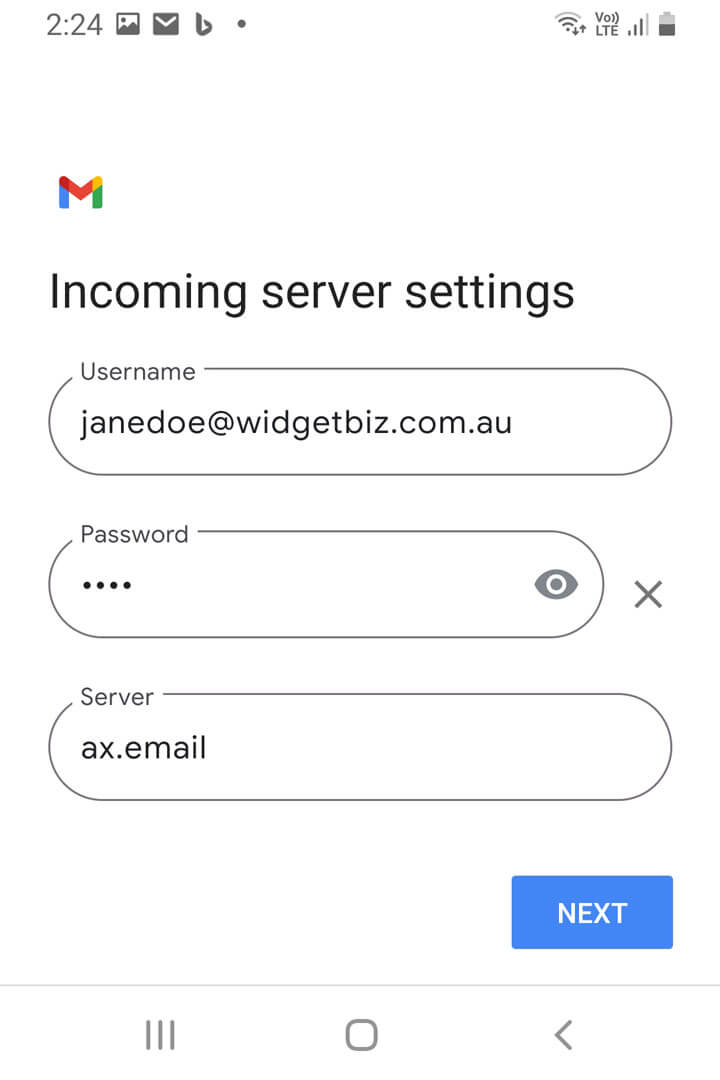
Enter incoming server settings.
- For Username enter your full email address.
- The Password field should be pre-filled. If not enter the password for your email address.
- For Server enter ax.email.
- Click Next when done. Your phone will attempt to verify the settings. If it can’t connect you’ll be prompted to make corrections.
Enter outgoing server settings. These are similar to the previous screen, but not exactly the same.
- Ensure Require sign-in is activated.
- For Username enter your full email address.
- The Password field should be pre-filled. If not enter the password for your email address.
- For SMTP Server enter ax.email.
- Click Next when done. Your phone will attempt to verify the settings. If it can’t connect you’ll be prompted to make corrections.
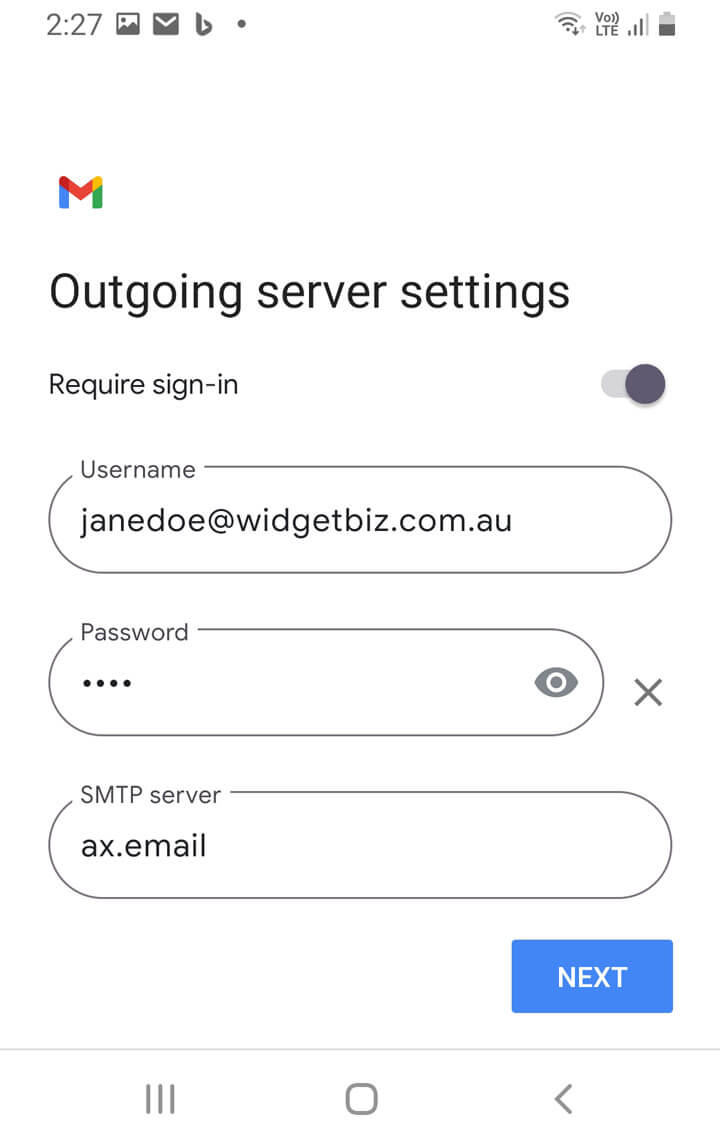
If connection failed, re-check the details you entered and make sure you’re connected to the internet. If you still can’t connect try entering mail.yourdomain.com.au as the incoming and outgoing server, substituting in your own domain. In this example the domain would be mail.widgetbiz.com.au.
If connection succeeded you’ll be prompted to select account options. Change options as you see fit and press Next.
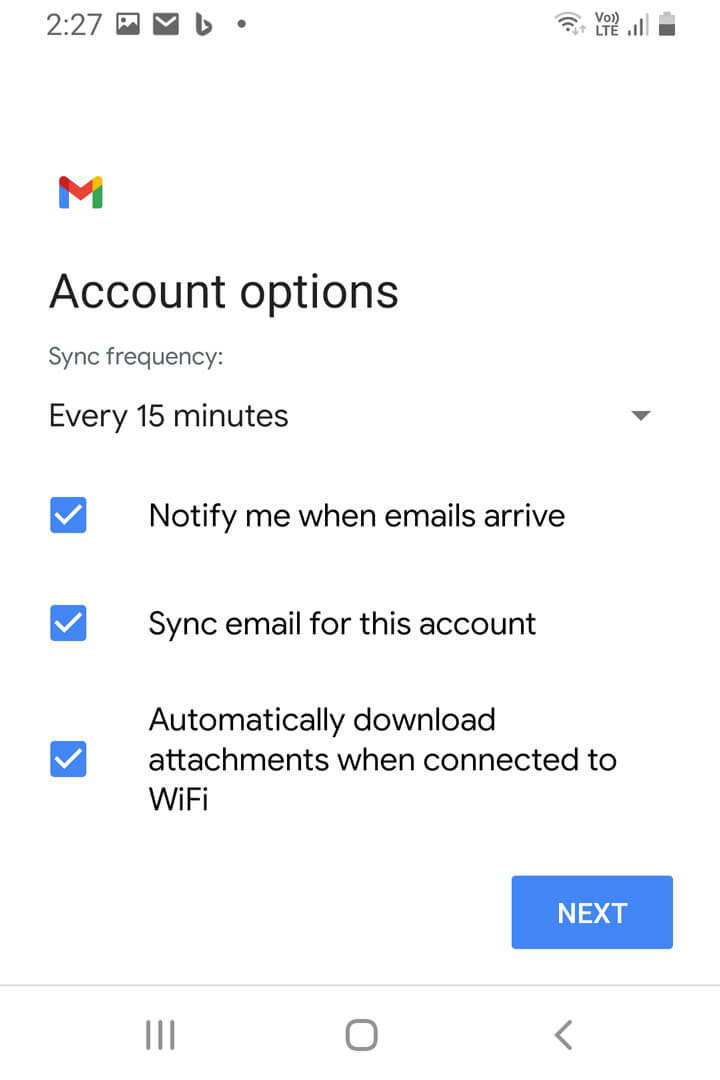
- For Account name write anything you like.
- For Your Name enter whatever you want this email address to identify itself as to recipients. Usually this will be your actual name, but might be something else such as Enquiries or Support.
- Press Next.
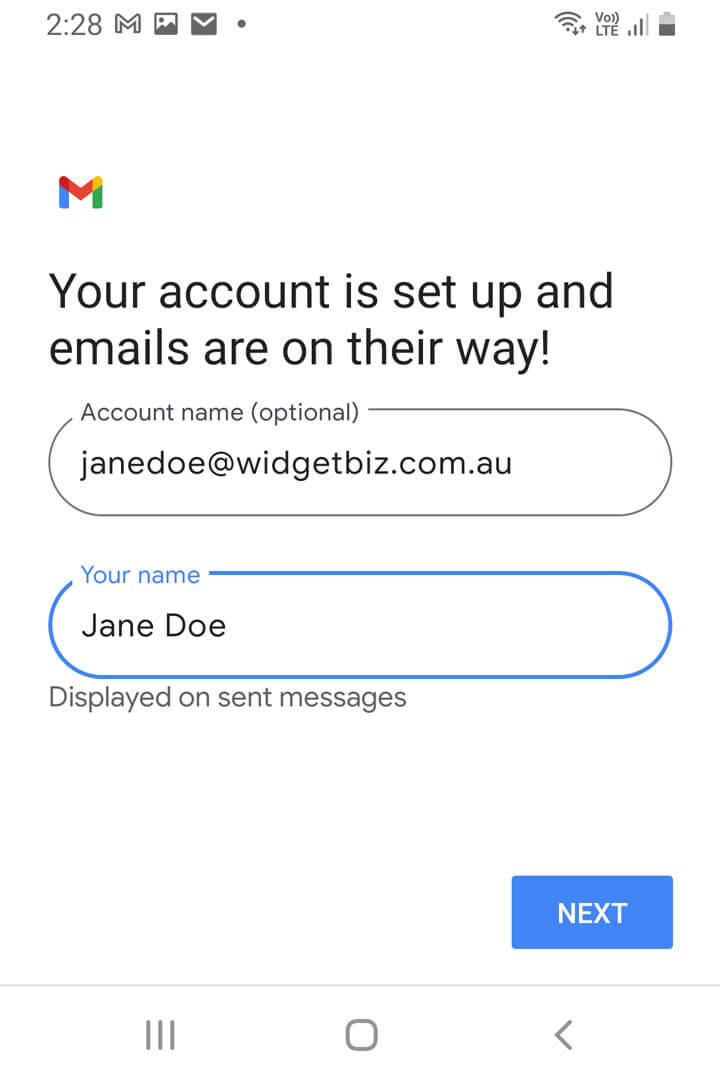
You’re done!


