Setup Email on Outlook 2016
If you’re using Outlook desktop software for Windows it’s quite likely you’re using Outlook 365 and should follow our Outlook 365 tutorial. Outlook 2016 was the last version of Outlook before Microsoft switched to a subscription model with 365. It is obsolete at this point and you should move to Office 365 sooner rather than later.
Open up Outlook. Open File in the top ribbon. Then click Account Settings.
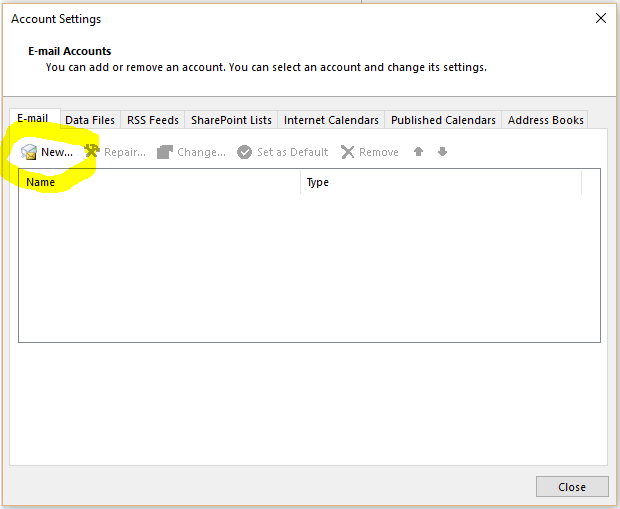
The Account Settings window appears. Select the E-mail tab and click New. Don’t worry if you already have some existing account, it won’t be overwritten. You can manage many email accounts with Outlook.
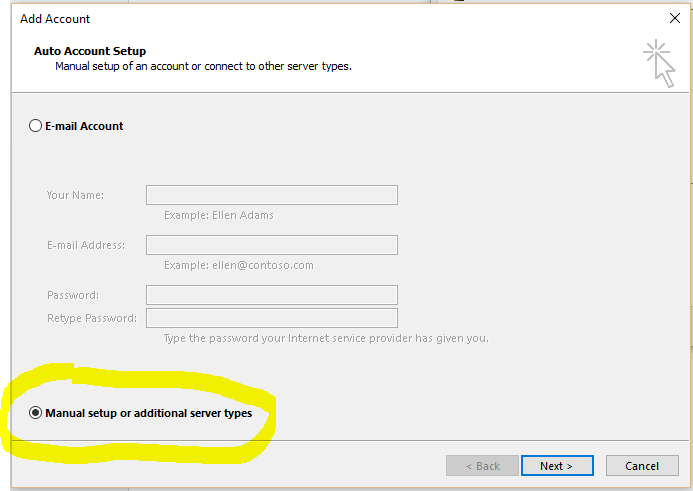
You’ll be prompted to enter some details. Skip all that by selecting Manual Setup and click Next.
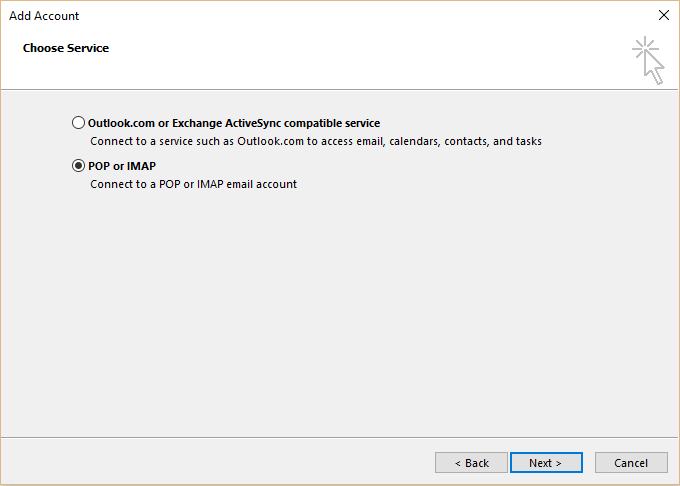
On the Choose Service dialog select POP or IMAP and click Next.
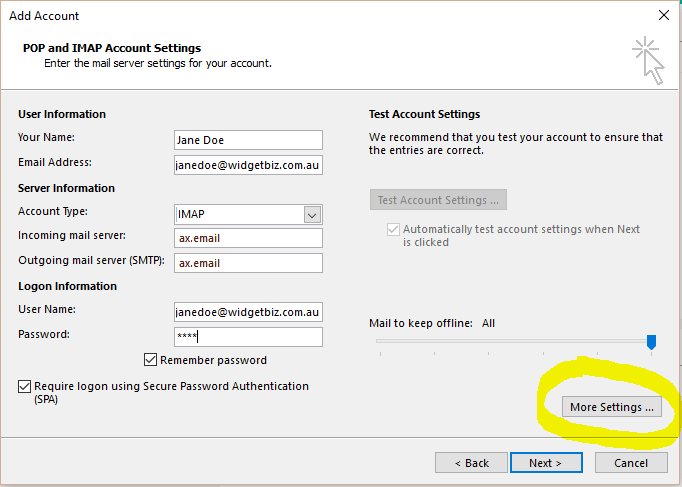
The account settings window is where things get trickier. You’ll need to enter the main connection details, substituting the dummy account info in the images here with your own credentials.
- For Your Name enter whatever you want this email address to identify itself as to recipients. Usually this will be your actual name, but might be something else such as Enquiries or Support.
- For Email Address enter your full email address.
- For Account Type select IMAP.
- For Incoming mail server enter ax.email.
- For Outgoing mail server enter ax.email, same as Incoming mail server.
- For User Name enter your full email address.
- For Password enter the email account’s password.
When you’re finished, click More Settings. Don’t click Next yet as we have a few more parameters to enter.
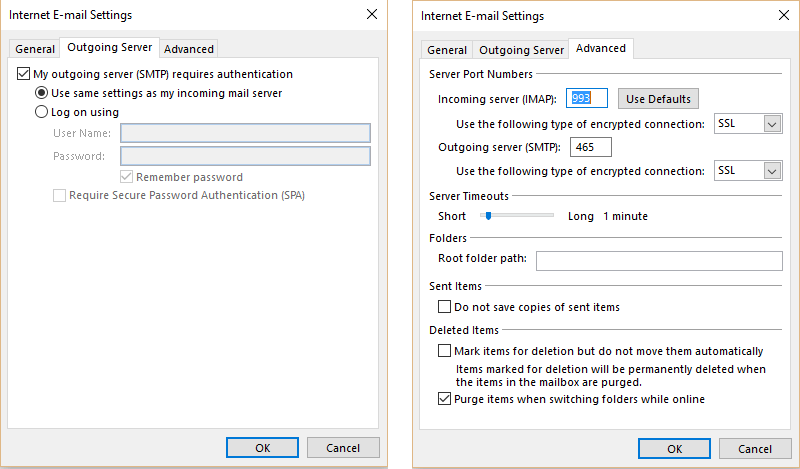
In the Internet E-mail Settings dialog set the following additional options.
- Everything under the General tab can be left unchanged.
- In the Outgoing Server tab:
- Tick My outgoing server requires authentication.
- Select Use same settings as my incoming server.
- In the Advanced tab set the following:
- For Incoming server (IMAP) set 993.
- For Use the following type of encrypted connection select SSL.
- For Outgoing server (SMTP) set 465.
- For Use the following type of encrypted connection select SSL.
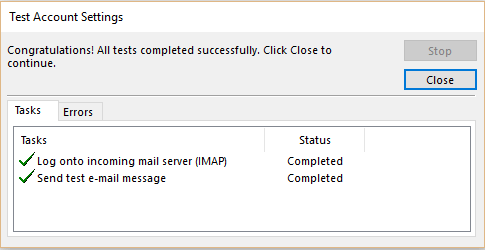
Once you’re done with the additional options, click OK and then Next. Outlook will attempt to login to the email server and send a test message. With any luck, they should both be successful and you can click Close.
If Outlook fails to connect, double check the details and make sure you’re connected to the internet. If Outlook still fails to connect try entering mail.yourdomain.com.au for the incoming and outgoing server. In this example the domain would be mail.widgetbiz.com.au.
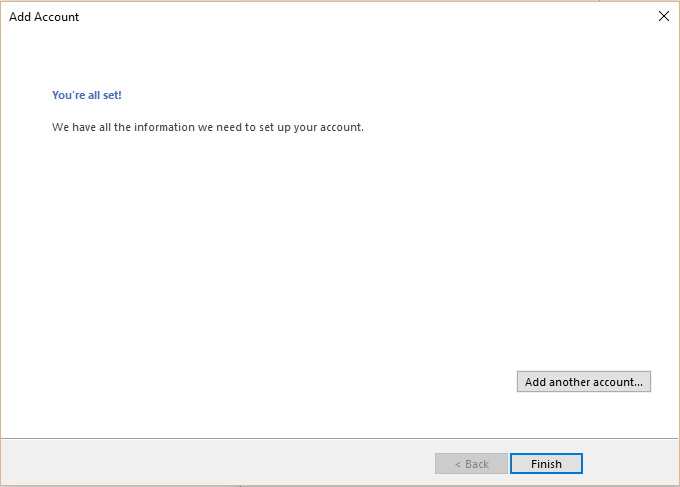
Finally, click Finish and bask in the glory of your completed email configuration.