Setup Email on Android Samsung Email
This tutorial covers setting up your email address on the Android Samsung default email app which comes installed by default on Samsung phones such as the S series. The app can be found on the Android Play Store. Its icon looks a little something like this:
![]()
Open the Samsung email app. Open up the main menu using the top left hamburger icon.
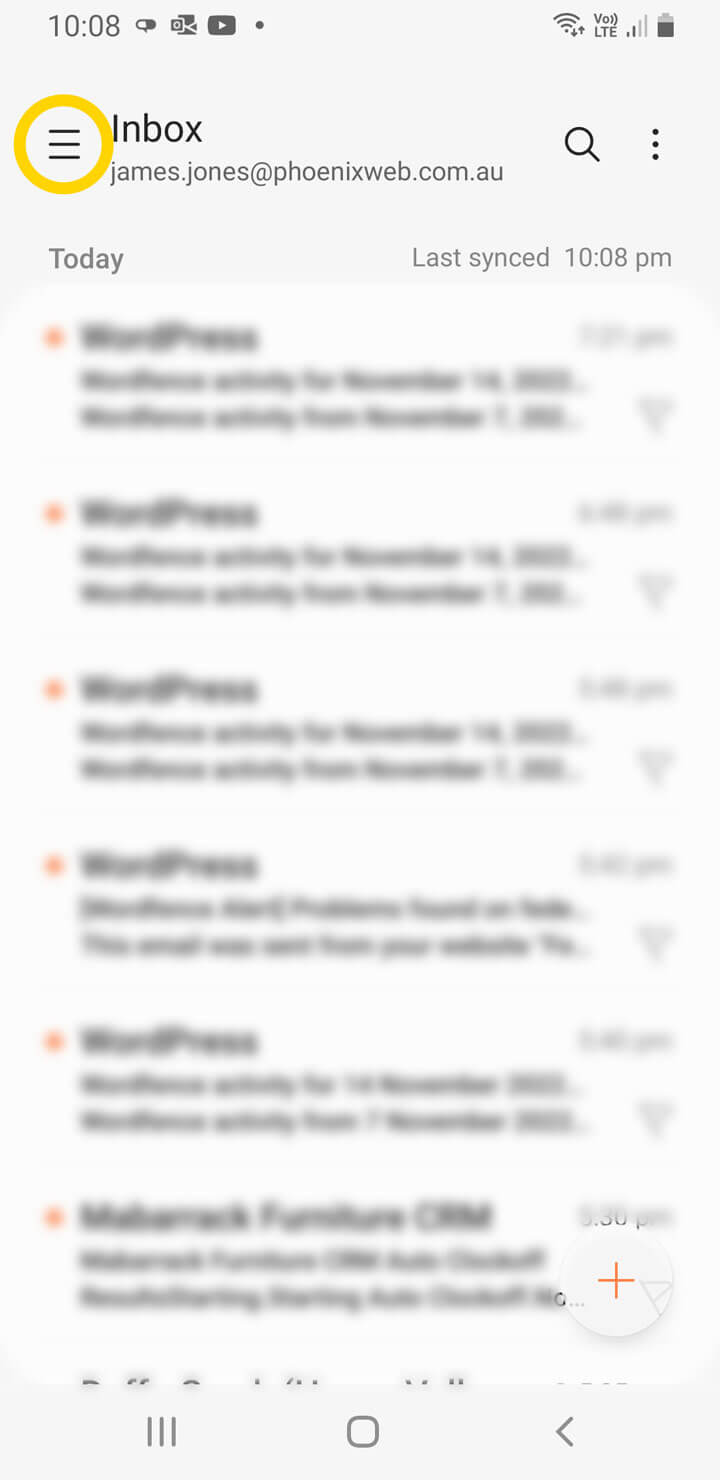
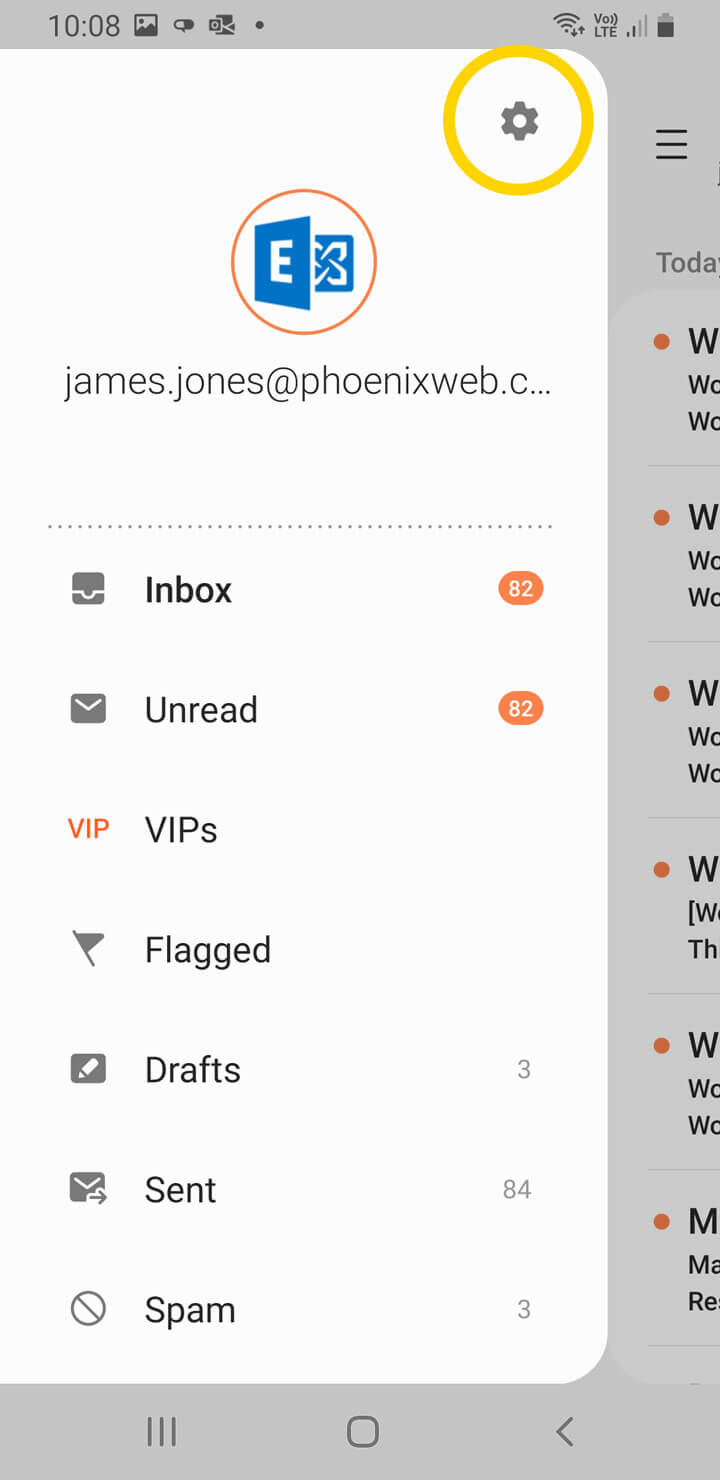
Press the settings Cog icon at the top right of the menu.
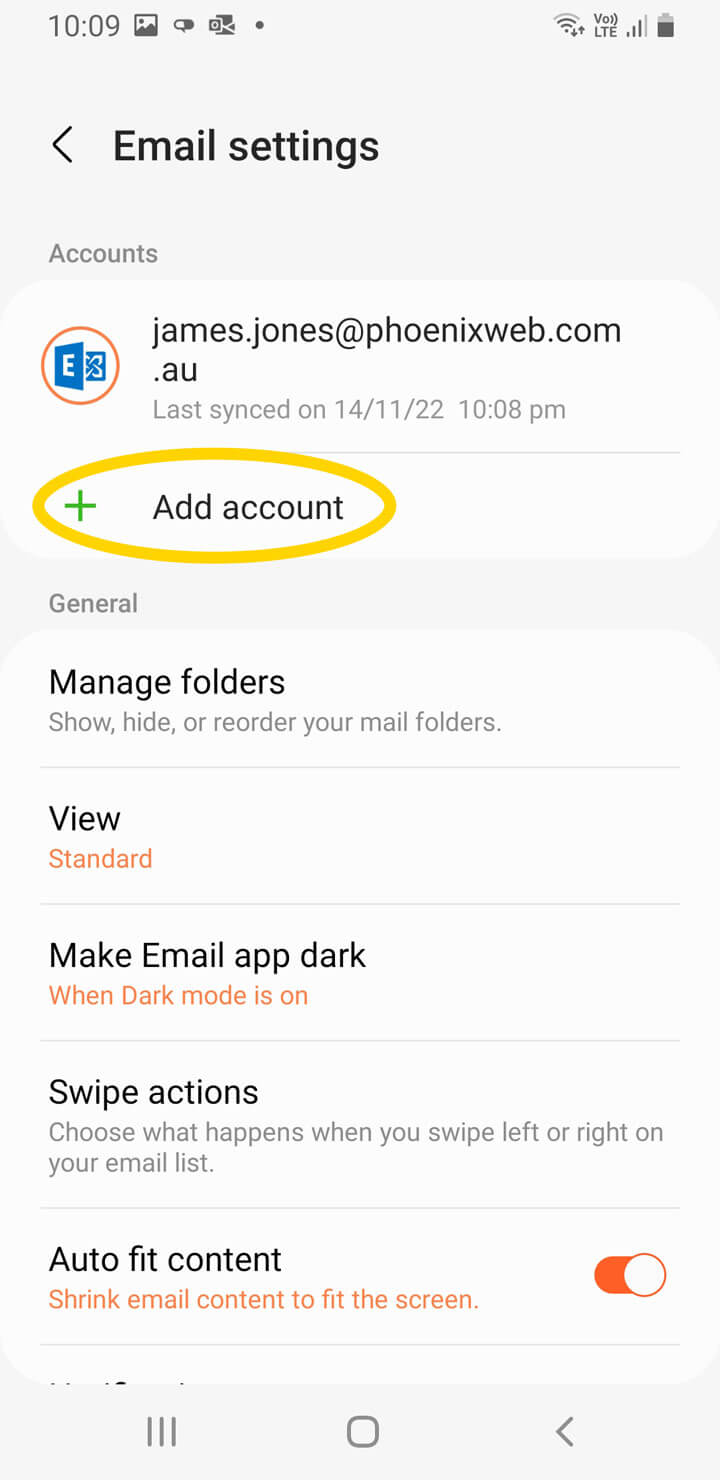
Press the + Add account button to start creating a new account.
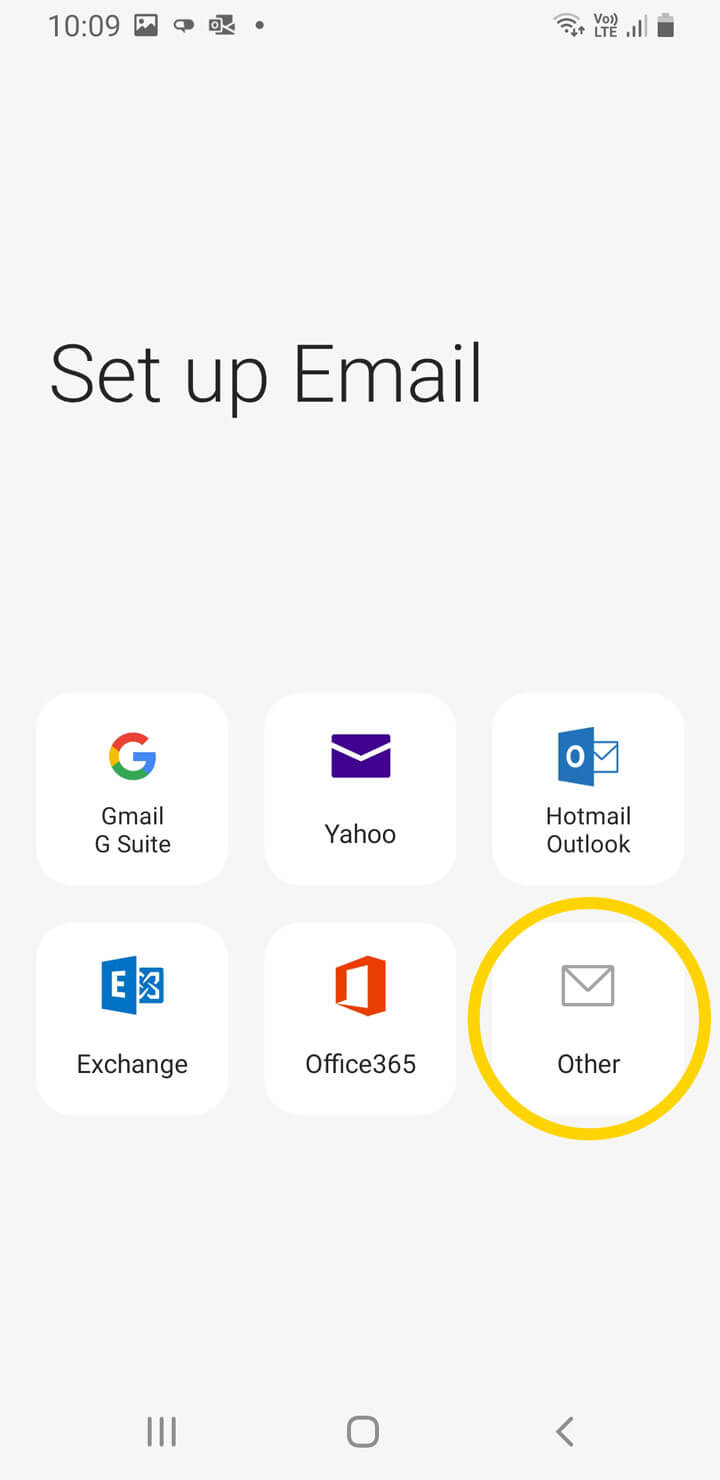
Choose Other as the email provider.
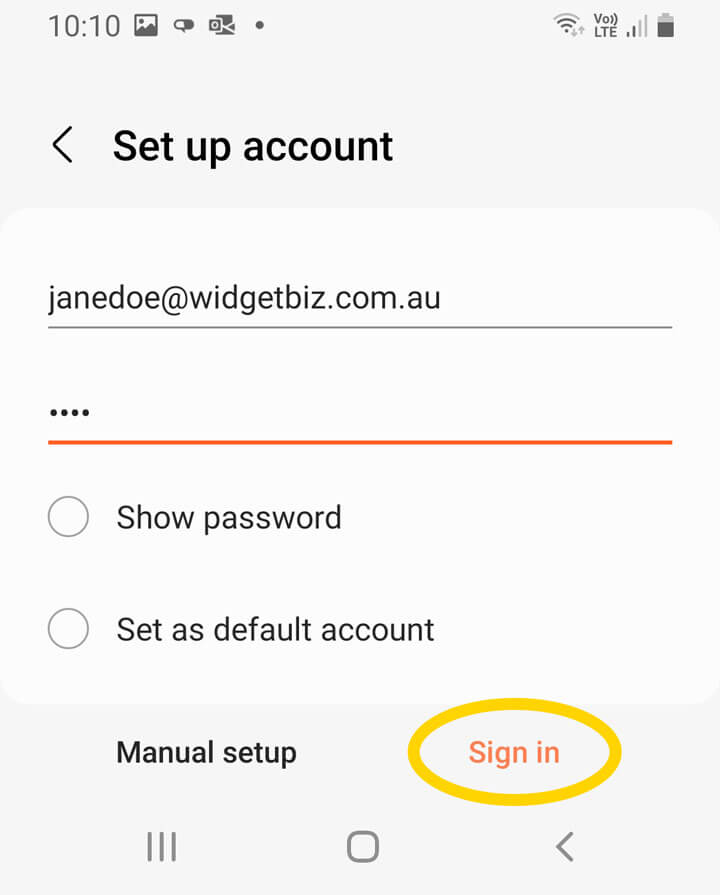
You’ll be prompted to enter the email address and password. Enter the email address and password and then press Sign in.
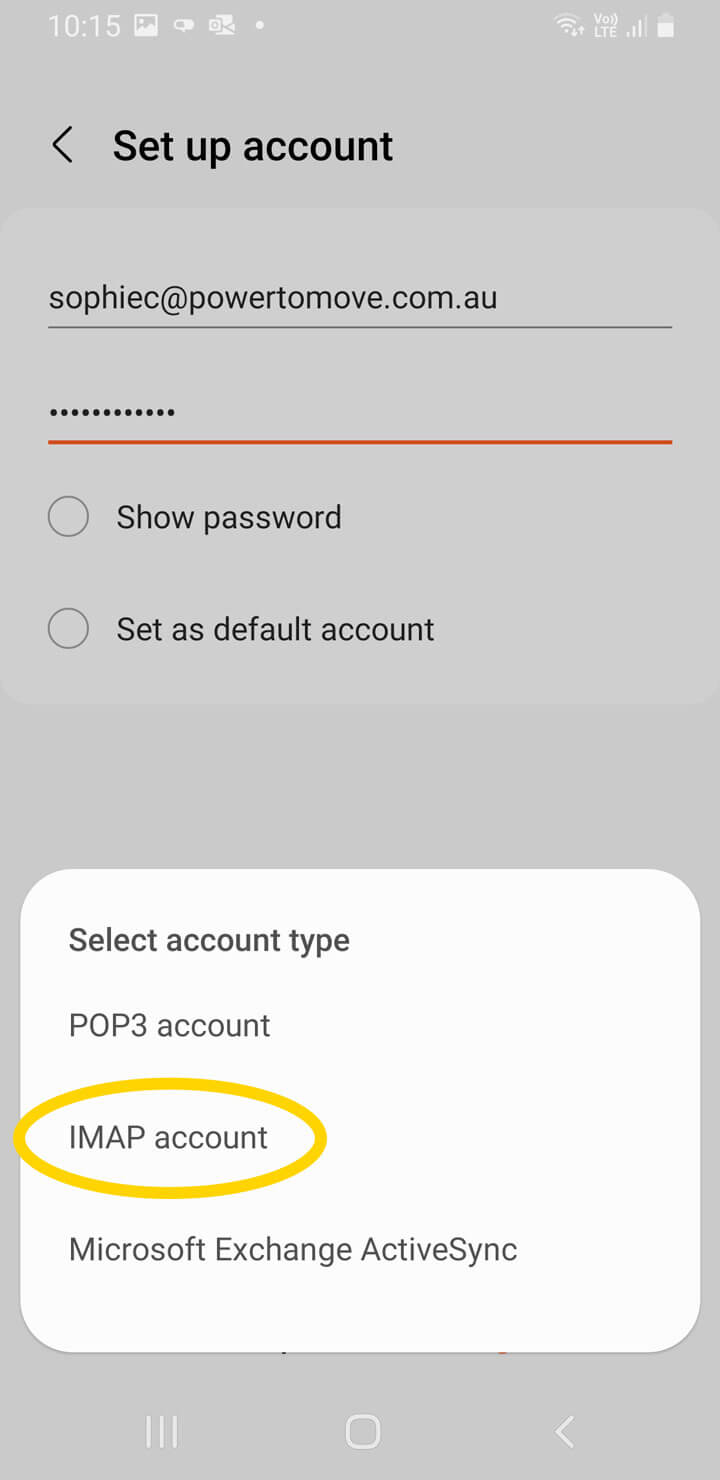
For Select account type select IMAP account.
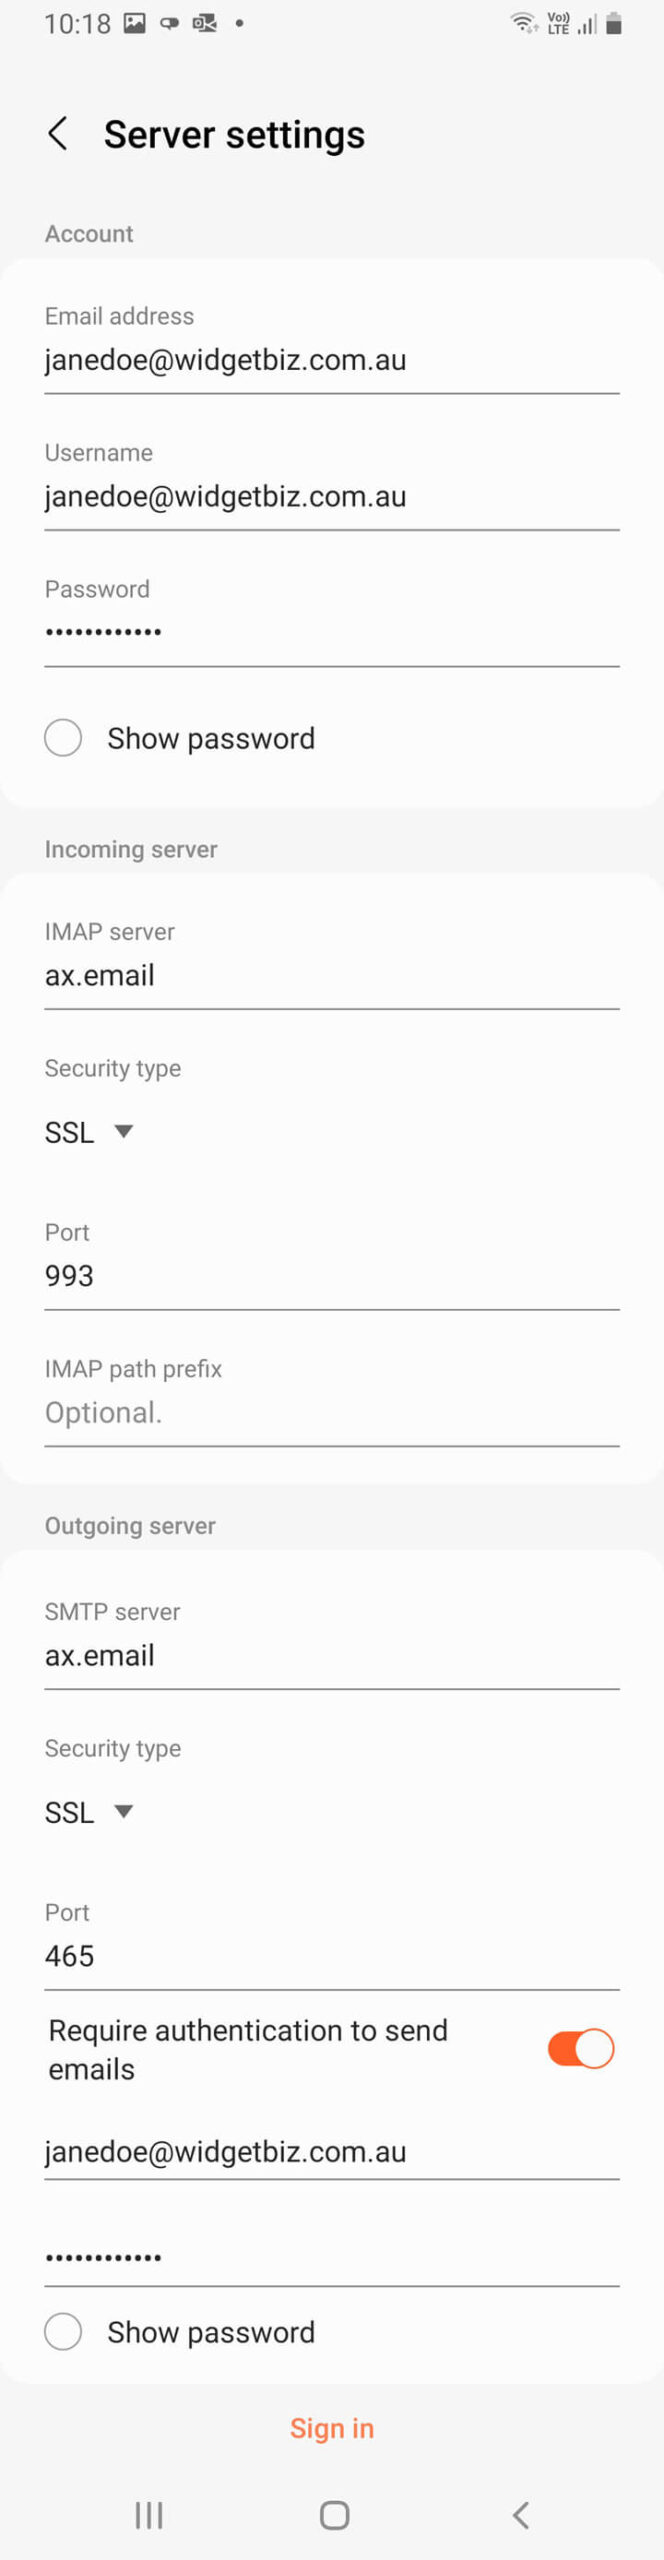
You’ll be prompted to enter more connection details. Some will be prefilled. Fill them out as follows:
- Under Account:
- For Email address enter your email address.
- For Username enter your email address.
- For Password enter your email password.
- Under Incoming server:
- For IMAP server enter ax.email.
- For Security type select SSL.
- For Port enter 993.
- Leave IMAP path prefix blank.
- Under Outgoing server:
- For SMTP server enter ax.email.
- For Security type select SSL.
- For Port enter 465.
- Activate Require authentication to send emails.
- For Username enter your email address.
- For Password enter your email password.
Once you’ve filled out the details press Sign in at the bottom of the screen.
If your email fails to connect, double check the details you entered and make sure you’re connected to the internet. If you still can’t connect try substituting ax.email with mail.yourdomain.com.au for the Incoming server IMAP server and the Outgoing server SMTP server, editing this to match your own domain. In this example you would enter mail.widgetbiz.com.au.
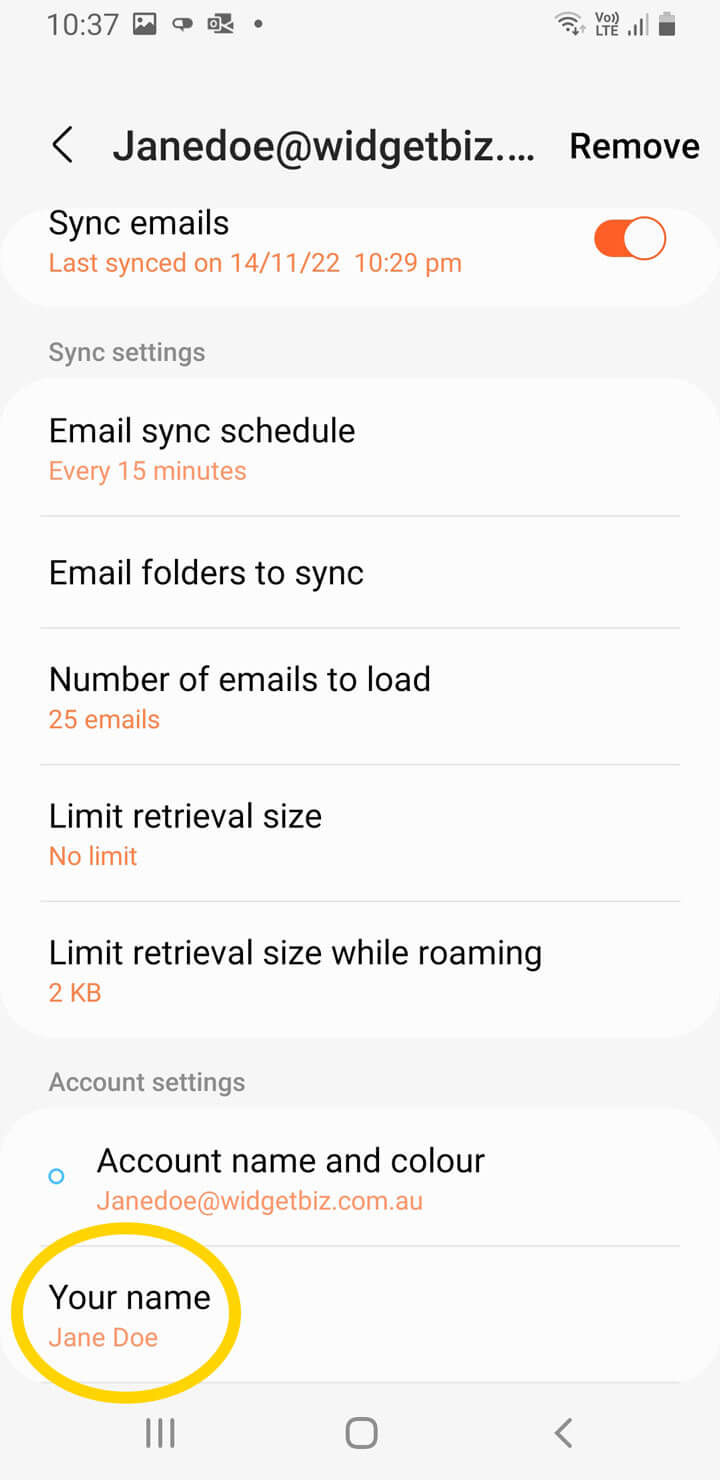
From here you can now send and receive emails through your Samsung email app but it’s likely you’ll want to set the name that’d displayed to recipients when you send them an email. Go back to Email settings screen and open the settings for your account.

Tap Your name and set a name for your account. Set any other settings in this screen relevant to your use case.
You’re done!